Washing Machine Drain
Plumbing a washing machine drain has always seemed easier
to me as there is no fixture to install. No trip back after the
counter-top is installed and the floor is done. The hardest thing to do is
install an in wall box,[auto washer box], when it is called for. See my page, Washing Machine Pipes, for a suggestion.
The rough-in for a washing machine drain can be quick and easy or arduous, simple in its concept or complex. I have long contended that plumbing is rather like Legos with rules, lots of rules. Like legos there are many configurations possible, and the ability to see them is greater in some than in others. What I have noticed in my research for this page is that the majority of sites make shallow passes at this subject. They either suggest simple but illegal piping patterns or alterations to the existing inadequate arrangement that are little better than no change at all. There are two concerns here, your health and your homes ability to pass a prospective buyers inspection when that time comes.
How we got here
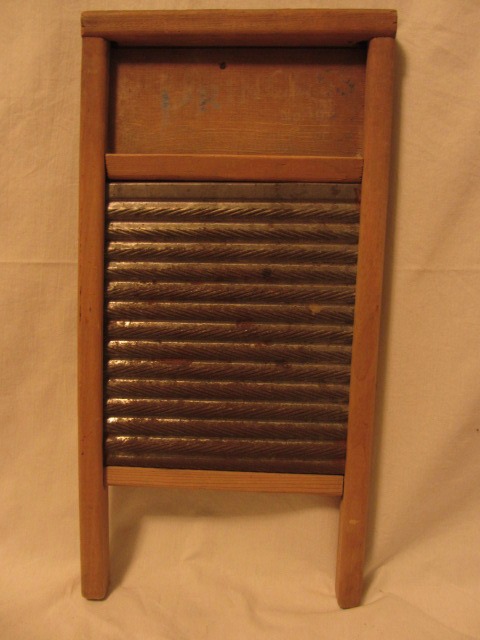
I would like to begin by covering the need for the change. If you are planning to relocate the laundry room or install a washing machine drain where there was none go ahead to the next section now. Up until about 1950 most washing machines drained into laundry sinks, and most of those were concrete. This was a satisfactory arrangement considering many folks at that time could remember why the front of laundry sinks are slanted. The laundry sinks began to wear out, they cracked and their surfaces became pebbly and began to retain slimy smelly lint. It became standard to install “stand pipes”, what we also call “auto washer stations” in new homes. The plumbing code called for a 1-1/2" pipe with a p-trap and vent of the same size. The 1-1/2" drain coming from an auto washer station may even have been joined to the laundry sink drain and still be no more than 1-1/2" pipe. The post war era saw a real building boom and many homes were plumbed in this fashion.
The 1960s was when these washing machine drains began to be run in 2" pipe with 2" p-trap and drain. The vent was and is to this day 1-1/2" pipe. As clothes washers improved the drain cycle was shortened by the use of stronger pumps. These stronger pumps became a problem for the old 1-1/2" cast iron p-traps, overwhelming them and causing the water to back up the stand pipe and spill onto the floor.
The first reason to install a dedicated washing machine drain is to keep the laundry sink sanitary. The most common reason to upgrade an auto washer station to 2" pipe is the purchase of a new clothes washer.
I have seen some sites claim that the washing machine drain is liable to fill and close, slowing it and causing the overflow of drain water at the stand pipe. In my experience these drains are consistently self scouring and do not fill with lint. It is when they are joined to kitchen sink drains that the problems begin. 2" galvanized iron kitchen sink drains cool the water that passes through them condensing liquid fats to a solid state. Add to this starches like potatoes and rice and you have a recipe for a slow drain. Now add to it lint that clings to the fatty mass helping to solidify it and you have a drain that will want to be well cabled once a year.
To recap, it is the 1-1/2” p-trap that is the slow point in an old washing machine drain. It is the kitchen sink drain, especially when plumbed in iron, that is the culprit when the auto washer is plumbed in 2” pipe. I would suggest that the kitchen sink drain be changed to modern smooth wall pipe as the more expedient cure for a slow washing machine drain.
It was not until the 1970s that plastic became the main material used for drain waste and vent pipe. Along with this change clean-out fittings became a required feature of the auto washer station.
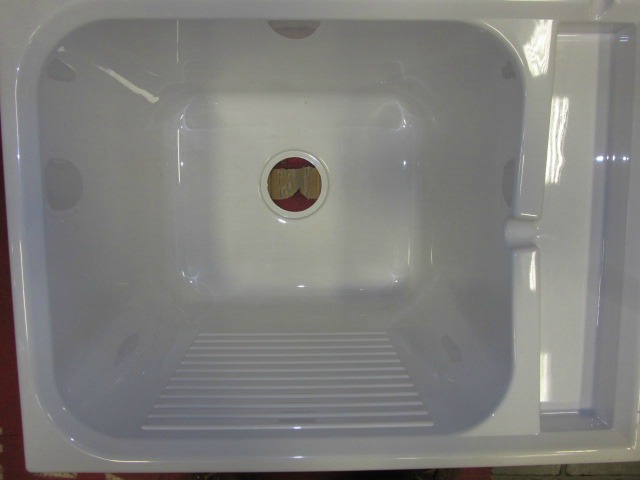
If you have never used one it's not too late, This new sink with scrub board is new at home depot.
Code considerations
The typical location of an auto washer station clean out is the vent pipe. A tee will be set into the vent pipe facing forward and closed with a threaded plug. I have often cut these fittings into 1-1/2” galvanized vents. I try to place them above the overflow point of the drain so that water will never spill out when the plug is removed, but not so high as to make pushing a drain cable into them uncomfortable.
A tail piece is the vertical section of pipe or tubing that connects the drain of a fixture to that fixture's p-trap. The plumbing code limits the length of a tail piece to 24 inches. The one exception to this rule is the stand pipe, [washing machine drain]. An auto washer station stand pipe must be at least 18 inches long but no more than 30 inches including off sets. The extra inches of 2” pipe should prevent soap suds from welling up out of the drain pipe.
As with any other 2” p-trap the trap arm of an auto washer station may not exceed 60 inches. A trap arm may only have horizontal off sets and must drain into a sanitary tee at a slope of not less than ¼” per foot. Never end a trap arm with a wye or wye and eighth bend combination, “combo” fitting. All trap arms end in sanitary tees, no matter if they are set vertically, [stack vented] or horizontally, [flat vented].
The final code distinctive of an auto washer station is the location of the p-trap. The trap must be installed above the floor when plumbing washing machine drains.