Trap adapter
A trap adapter is the fitting that joins the pipe to the tubing at the trap arm side of the p-trap.
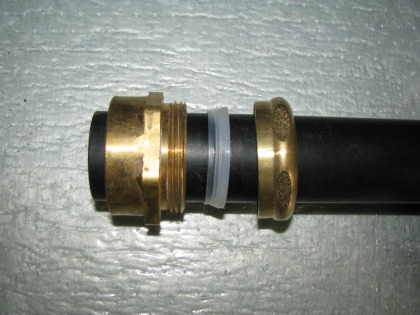
A slip joint is comprised of a male thread, a slip joint washer and a slip joint nut. In an ABS system the adapter is plastic, and in an iron system it is brass.
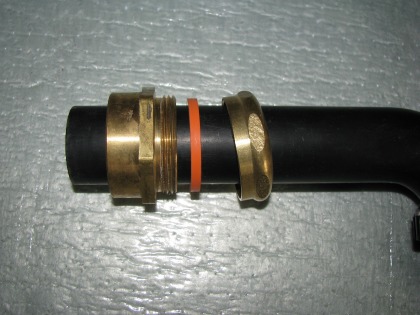
This brass trap adapter came with a brass ferrule. I don't use the ferrules I use rubber or nylon slip joint washers.
The two common types of brass adapters are those with slip joints, and those without slip joints.
Historically when a brass trap adapter had no slip joint the tubular trap was soldered into the trap arm side of the adapter.
Soldering is known as sweating, one sweats a joint. That is why we call a brass trap adapter with a brass tubular trap arm soldered to it a sweat bushing.
Is it a sweat bushing?
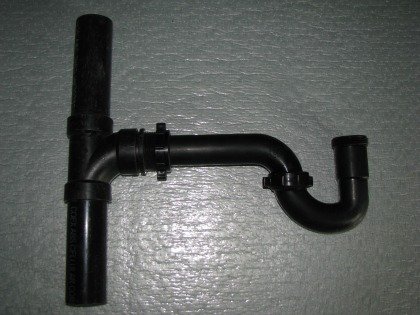
Here is what to look for to confirm that you are dealing with a sweat
bushing. You should see a tubular (not schedule 40) trap arm joining a
brass adapter, not always at a straight angle, with a solder
joint on a hexagonal face. The hexagonal face usually hides the face of
the iron sanitary tee. See photo above.
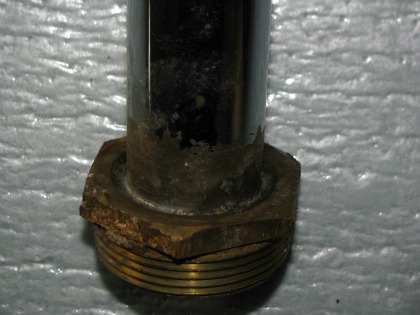
More rarely you may see what is known as a flush bushing. That is a bushing that has no outer nut face. With the tubular trap arm installed via a narrow solder joint. In this case it is more common to see the face of the iron sanitary tee.
Typically these fittings are quite difficult to remove, wanting an eighteen or twenty four inch pipe wrench to break them loose. The heart of the problem is that they're located in a cabinet that makes the application of a large wrench most uncomfortable, if not impossible. Their depth in the wall may also render a large wrench useless.
There is a way to remove them with a reciprocating saw, and that is how most plumbers do it. Now you find out why I rejected the new 1-1/2 inch action recip. saws and stayed with the old 3/4 inch saws. Beware, a thick blade and a high amp saw could blow the back out of the iron tee! Remove the brass tubular trap arm [sounds easy, not easy at all. Use the saw if you can make the angle.] and cut the brass bushing at eleven thirty and twelve thirty on the clock face. Try to cut as little of the female thread as possible. A wide saw blade is better because you are going to remove the small section of brass that you have isolated with the cuts. After it is removed drive the remaining cut ends toward each other. This action shrinks the outer diameter of the fitting and it is then easily removed. The reason for the placement of the cuts is that the flow is farthest from that aspect of the drain when in use. I always removed them that way until I came up with a neater trick... using a very large easy-out and a 3/4” breaker bar.
Return to Plumbing Basics from Trap Adapter